I got my two kids (7 & 9) an arduino starter kit for Christmas. I have this crazy idea that among the literacies my kids will need is some understanding of how our world is built up of little sensors tellings us everything. I have this hope that they’ll want to be part of it and try and build crazy little things around the house with these sensors. We’ve been playing for 4-5 days now and if we keep things up I’m sure I’m going to forget all the frustrations/victories that happened when we first started off. If you’re interested in getting started… this is what we’ve learned so far.
What you need to know before getting started
The code
I have a basic understanding of coding. I broadly understand basic coding concepts and am fairly proficient when it comes to understanding how this blog works for instance. So, before you begin
You should understand what code IS
As I understand it, Arduino uses a simplified version of C++. I can tell you that when i look at it, I can workout the majority of what is going on from the context clues and the notes that other nice people have entered into the code. If you’ve never looked at code in your life, you might want to find a friend to help you.
The software
‘arduino’ is also a piece of software that you need to download and put on your computer. It’s where you put your code (they often call it a ‘sketch’)and then upload it to your Arduino through a USB cable. There are tons and tons of sketches available online that you can use and the arduino software comes with a pile of examples. The examples by themselves are not really enough to get started as they don’t contain the things you need to do on the hardware to make things happen.

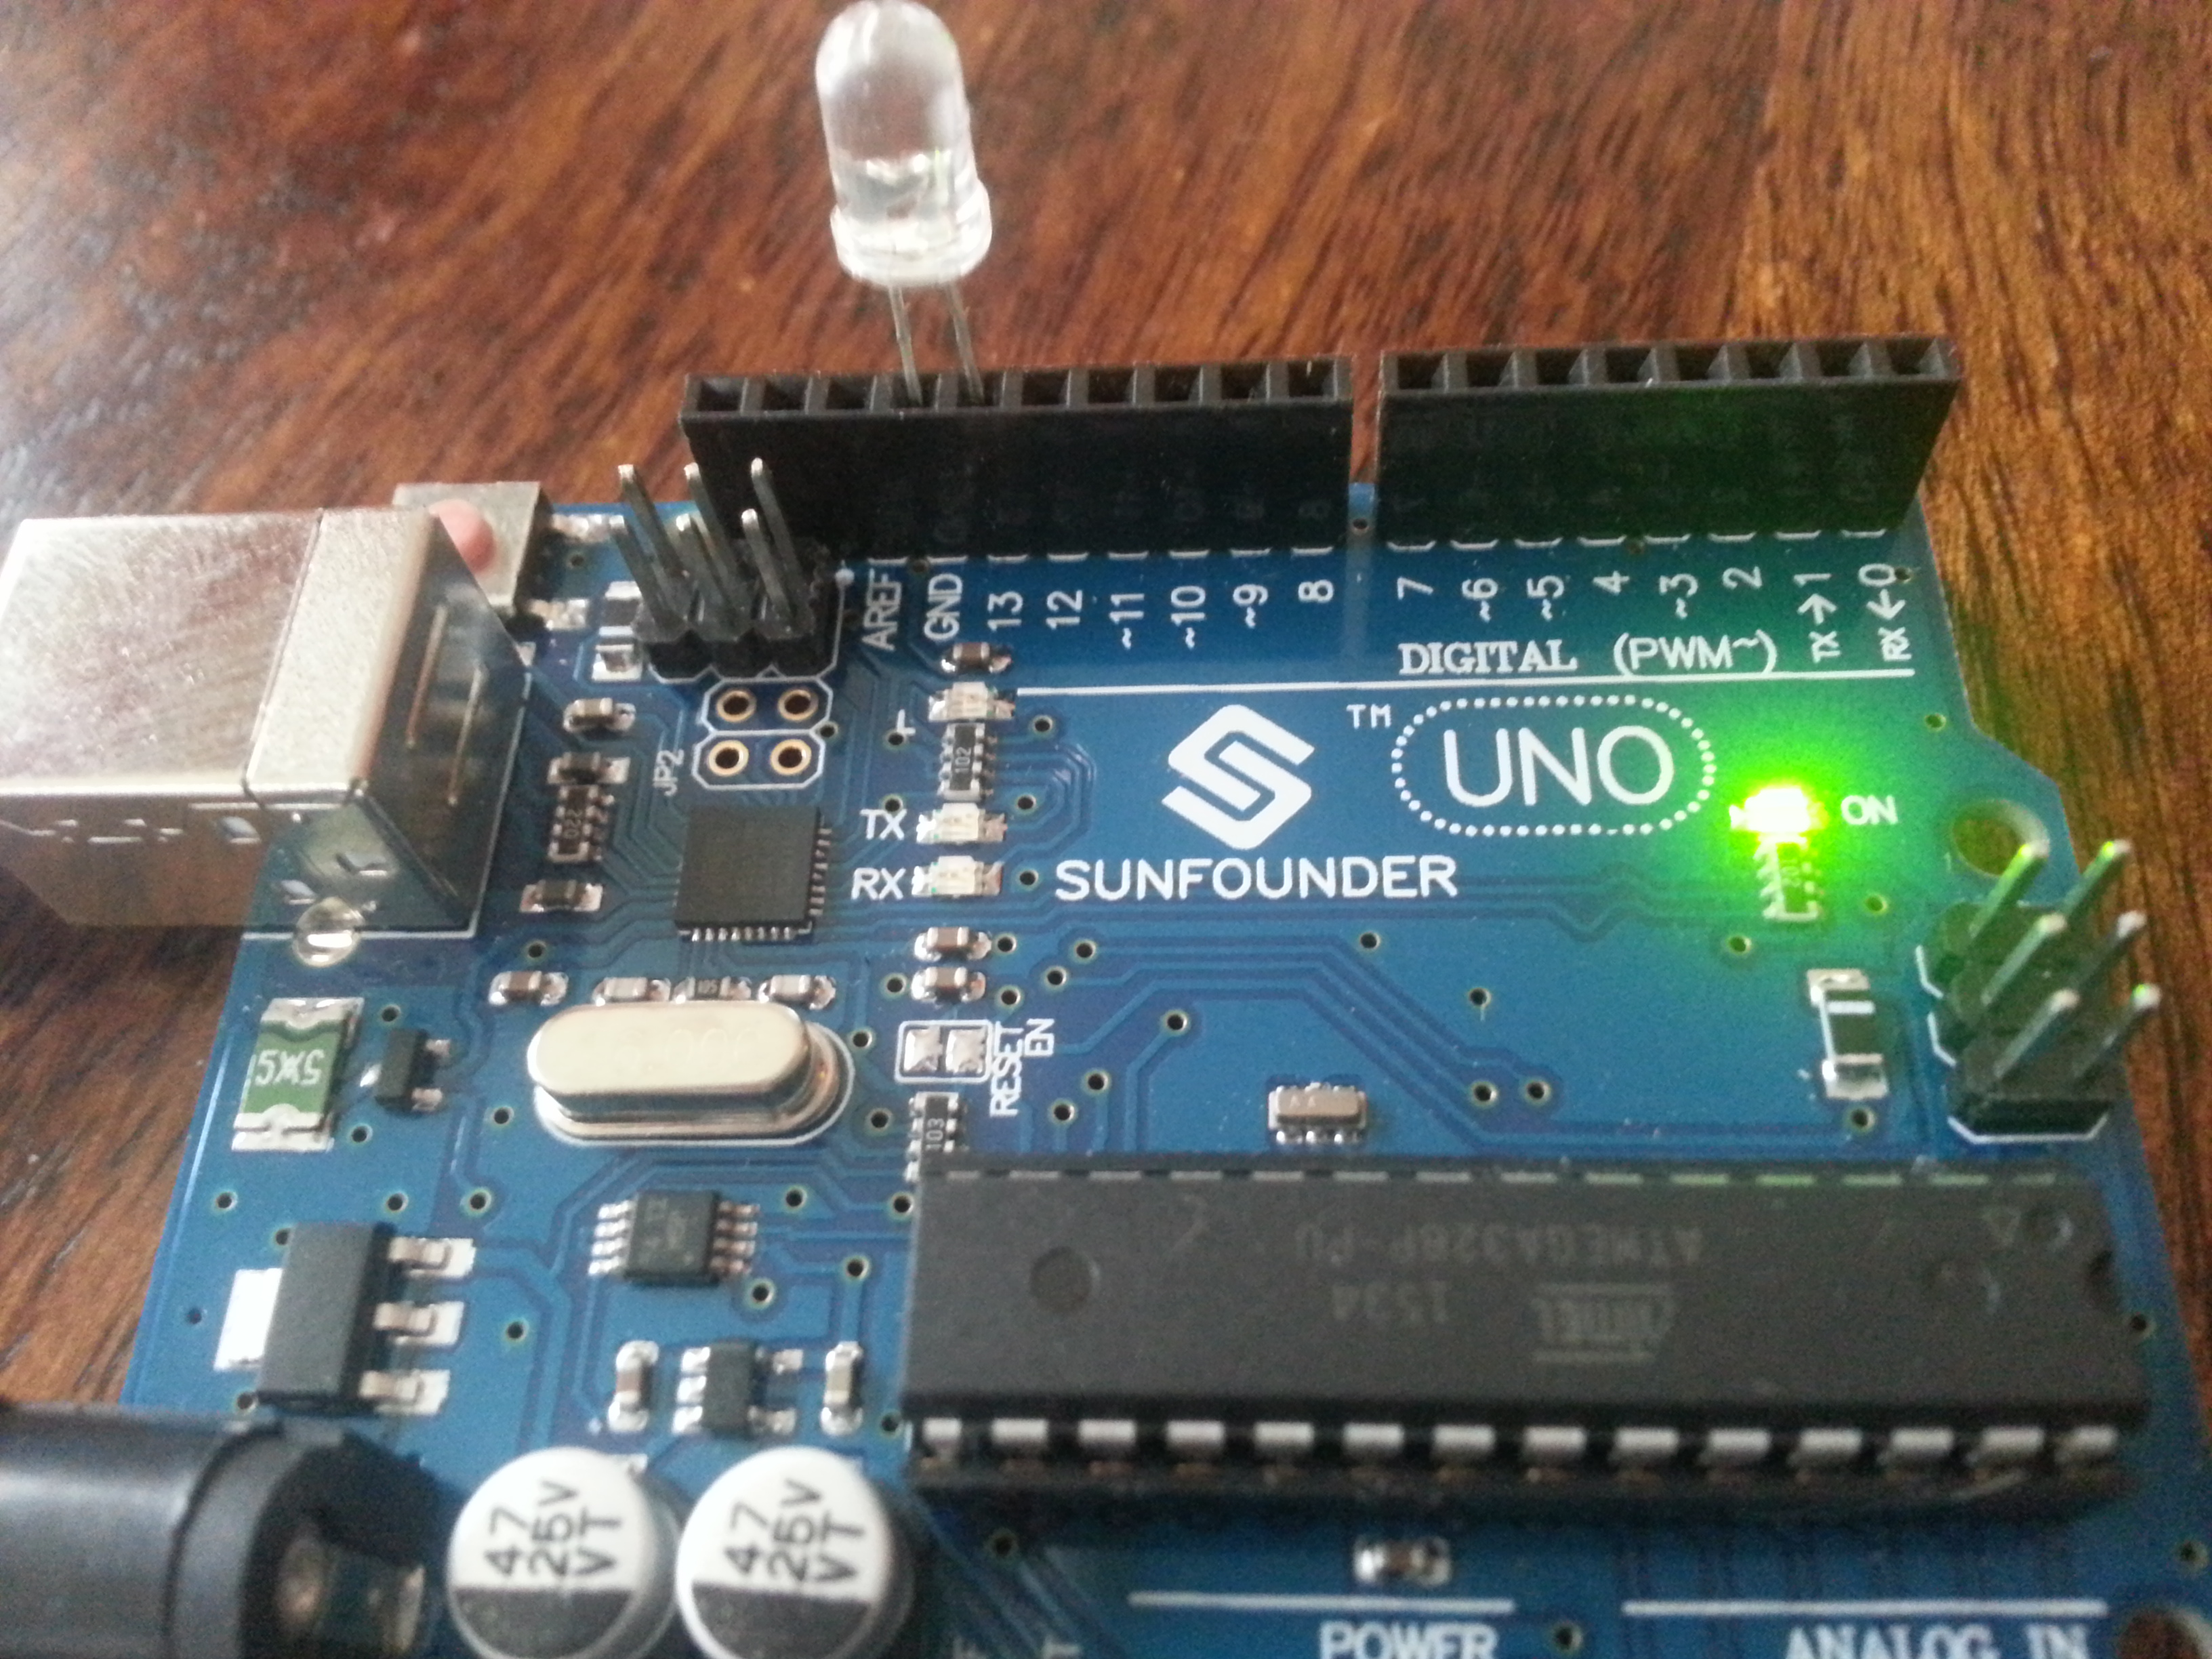
This is probably the simplest sketch you can do. It sends power to pin 13. Then it turns pin 13 on and off at 3 second intervals. You can go to your Arduino and put a LED bulb in pin 13 and the ground that is right next to it. Long leg of the LED is the ‘+’ and it goes in pin 13. Short leg of the LED is the ‘-‘ and goes in the ground. (I didn’t know what these things meant before i started)
- Connect Uno via USB cable to your computer
- Go to Tools -> Board -> choose your board (mine is an Uno)
- Go to Tools -> Port -> Choose your board (mine was there with ‘Arduino uno’)
- Go to File -> Examples -> Blink
- Click the ‘upload’ button on the arduino software
- Shove the long leg of the LED in pin 13 and the short leg in the ground (GND) slot
- Watch the incredible blinking
If these instructions make sense to you… you can probably work on an arduino.
Fritzing
This is diagram software that shows you how things attach in the arduino. It’s a donate for download. I’m still working through it. I figure it will continue to become more important as I understand more things.
The hardware
This is the stuff you have to buy. There are a million different combinations of this on the internet, so I’m going to list some of some of the things that you’ll need and I’ll include my fledgling understanding of what they are for.
The board
There are tons of different ones, but I chose the Arduino Uno. Uno is more of a standard than it is a brand. My particular arduino was made by Sunfounder. I really don’t know if it’s a ‘good one’ or not. It’s done everything its supposed to so far. The board is the home base. That picture up above is my Uno. I kinda like it 🙂
Sensors
There are tons and tons of sensors that you can buy. They can sense light, sound weather things… pretty much anything you can imagine. They cost somewhere between $1 and $50 depending on what you’re buying and where.
Sound Sensor – We used this to build this project that makes the lights turn on and off when it hears music. Here’s the demo from my kids.
My kit had a bunch of others (humidity, light, RFID, etc) I’m happy with having just bought a pile in my introductory set and buying new ones as i need them. $2 free shipping on ebay.
Displays and motors
I got my little LCD display to work using a bit of code I found out there. The trick is to find the model number of the piece you have and search for arduino sketches that match it. It takes some time, but i find that everytime i do it, i learn a bit more about the overall package.
Wires and bits of things
The Arduino approach is solderless. The wires all plug into the board and attach to the sensors. I bought a ‘breadboard’ which is basically a little connector that allows you to work out all the circuits. You need a breadboard. You need a pile of wires.
You also need resistors. I’m not 100% sure what these do yet, other than that they control the way electricity goes in and out of things. I’m still researching this bit. Just attach them like they show you in the designs.
You’ll probably want a passive buzzer, some buttons and LEDs.
Other things you might need
I’m using an old fishing tackle box to keep all my stuff in. Works great.
Get a good digital multimeter (i bought this one). It will help tell you things about voltage, amperage and Ohms that I currently don’t understand but have it under good authority are super important. They will at least help you tell your resistors apart – which is some crazy arcane bit of business.
Overall… get some hardware and get what else you might need later. Don’t sweat it. Just get started.
Goals
We have three projects that we’ve been talking about getting to once we understand enough things. We’re currently just connecting wires to sensors and trying to make them work. I’m hoping to get the these three projects done some time in 2016
The robot car
I’m mean… seriously. Am i right? I have this kit on order… and am hoping i have the other things I need. Not really sure yet 🙂
Weather station/tweeting plant
Oscar, for whatever reason, has decided that the other two projects he’s interested in is making a weather station and a plant that tweets when it wants to be watered. Not sure how these are going to get built yet. One project at a time.
Should I do arduino?
I’m happy I started. I can see my kids getting their minds around it. I think they’ll find whatever knowing we achieve to be useful… If you have about $100 and are willing to figure some things out, I think most people who use the internet should be able to make a light blink on an arduino 🙂
Let me know if you give it a try.
As a long time fan of yours I am going to watch what you are doing with great interest. I am a high school teacher and we are using Arduinos for some of our orientation for new students and one of our seminars. I have learned a lot, but most of what I learned is that I need to learn more.
I hope you and your kids have fun and post more about what your do and learn.
Dave,
An excellent start! If I can help find the path on any of the projects please let me know.
Fantastic!
Check out the Kano Kit – it’s a DYI computer-building and programming kit.
Also EV3 is a lot of fun with flexibility to design and program its functions – comes with several sensors.
We built and programmed a quad-controller arcade console.
This may be of interest to Oscar: http://www.instructables.com/id/Raspberry-Pi-Controlled-Aquaponics/
Some of the junior highs are using Arduino. Have fun!
Love this post Dave! I am super keen to try solar-powered Arduino projects with my kids – one I’ve seen is a solar powered weather station which might be a bit ambitious as a starter project now I’m reading the learning curve. I do have a coding background, but not an electronics one! Will follow your families adventures keenly! 🙂
Depending on what you’re trying to do… it doesn’t really sound that difficult if you have a good model to work from. The challenge, i think, is how to do the tinkering. It requires a certain amount of fiddling and I’m trying to figure out how to make that part interesting to more than one child at a time.
Dave,
Thanks for sharing! but are you sure you got this for your two kids??!! 😉 I am going to check with my kids if they want to try it.
And Happy New Year!
I have been on the fence about getting an Arduino or Raspberry Pi to use with my 8 year old. I am curious why you went with the Arduino over the Raspberry Pi?
@paula let me know how it goes
@Zach the arduino seemed to have more fun simple projects it could do and the RP seemed more about created big projects. No operating system on the arduino etc… Just seemed easier to do stuff.